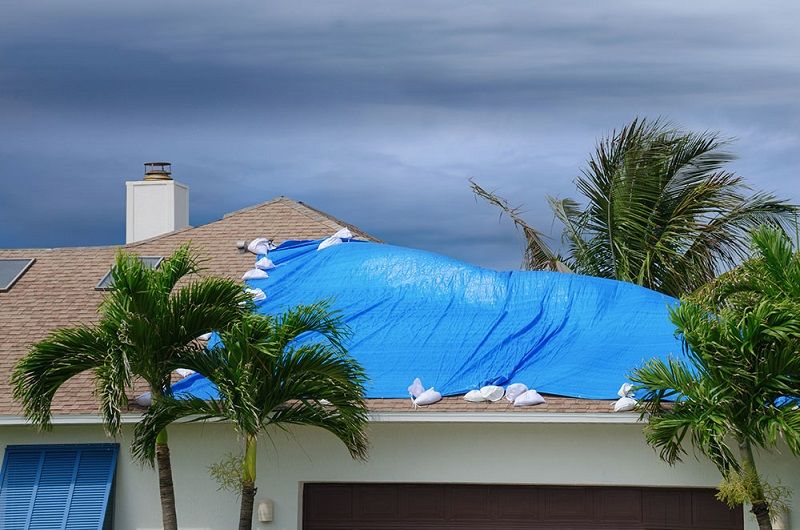
Installing tarp on a roof without nails.
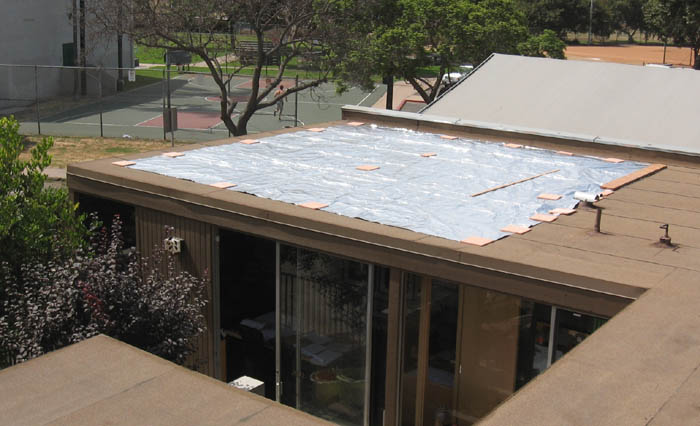
How to attach a tarp to a flat roof.
You need to know first which spot on the roof needs tarping up.
Create an anchor board by rolling the tarp s peak end with a 2 x 4 inch board and nailing the tarp to your board with your 3 inch nails.
There should be an additional 4 feet of tarp on every side.
Wrap the tarp around the 2 by 4 at least twice.
Here are the steps on how to install a tarp on your roof without nails.
Wrap it around the piece of wood and adhere the board to the roof with screws.
The 2 by 4 should be about 2 feet longer than the tarp width.
If needed cut off the excess tarp from the other end leaving about a 4 overhang.
Then attach it under the eave with a screw gun.
Again nail the tarp to a 2 x 4 as you did on the other side.
Let the rest of the tarp hang off the lower border of the roof that overhangs the wall known as the eave.
Positions several 1 2 pieces of lumber on the tarp running vertically down the slope of the roof.
Try to pick a day that is not windy or else you may face frustration because as soon as you open the tarp up there it will start blowing all over the place.
Find the source of the roof leak.
Lay the tarp across the roof so that at least 4 feet 1 2 m lies on the sloped part of your roof on each side known as the peak.
Screw the 2 by 4 directly into the roof to secure it.
If you don t have a helper use the metal rings to hold down the tarp at the furthest four corners.
Wrap the tarp over the 2 by 4 not under it to prevent the collection of debris.
Lay the tarp out flat over the roof.
Do the same to the other ends of the tarp to keep it secure and watertight.
Installing a tarp on your roof is easier than you think.
Find the source of the leak.
Secure all edges.
Put n ails in the board at least 10 apart for a secure connection.
Extend the top edge of the tarp over the roof.
Using cap nails attach one of the tarp s peak ends to a 2 x 4.
If you have a helper this part is easy.
Wrap the end of side a over a 2 by 4 that is 2 feet wider than the distance between sides b and d.
Stretch a tarp flat on the roof.
Then fold the excess tarp under a few rotations for a tight clean fit.
Unfold the tarp on the roof.
Wrap the tarp around the board pulling it tight against the roof.
Center the tarp over the damaged area.
Lay more 2 by 4s on either side of the tarp and attach those as well for a tight well secured water barrier.
It s even easier if you do it without nails.
To secure a tarp to your roof.
Partially unroll your tarp to cover the damaged area from the roof s eaves to peak.